Safety First Before Any Valve Work
Before touching any valve, isolate the line and confirm it is at zero energy. Lock out and tag out the source so no one can open a feeder or start a pump by mistake. Vent or drain the trapped pressure, and test the body with a small crack at a bleed point to ensure it is safe. Treat every valve as pressurised until you prove otherwise with the right checks.
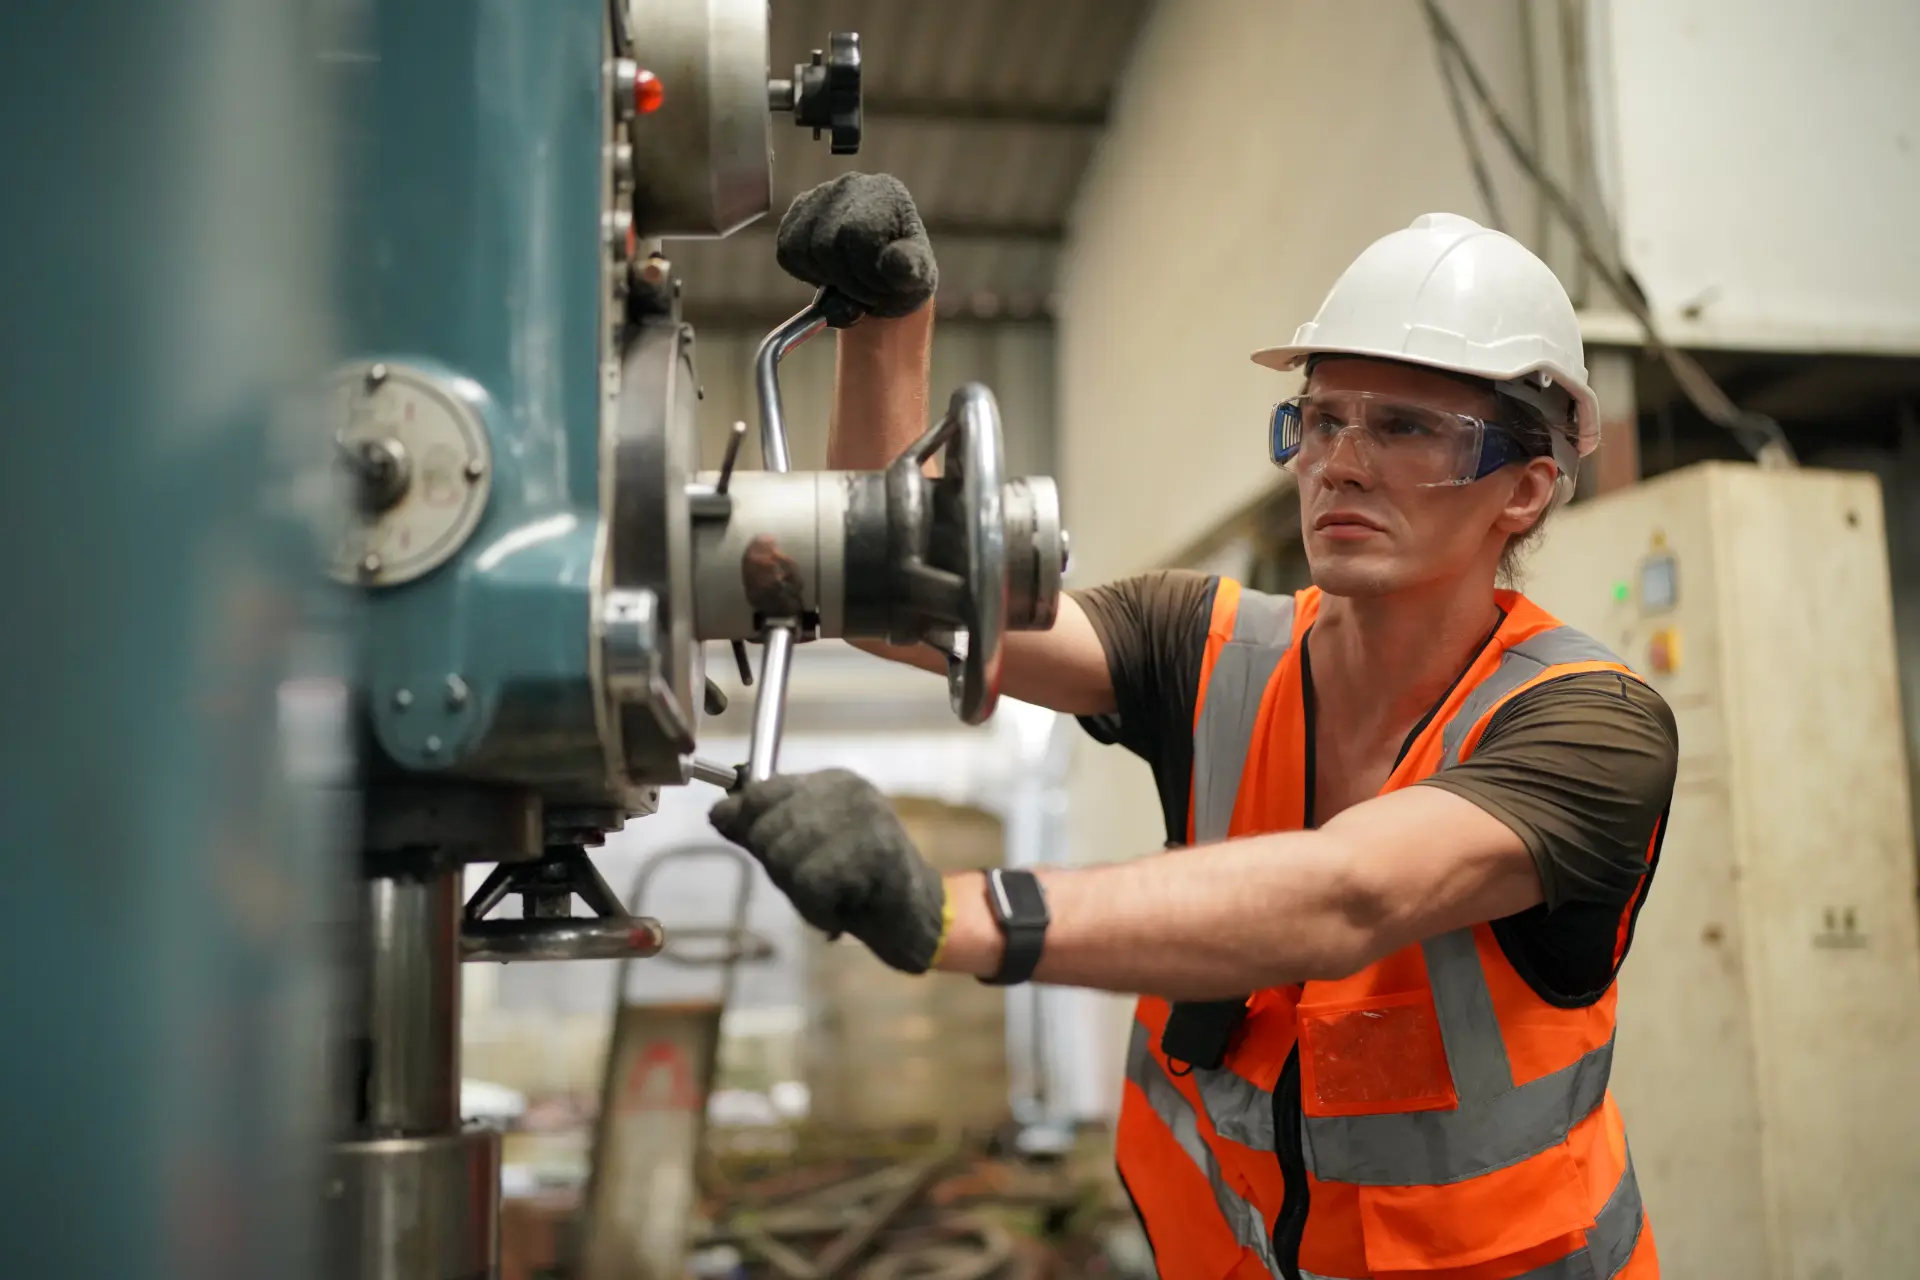
Always wear the correct PPE (personal protective equipment) for the specific fluid and the job. Eye protection, gloves, and sturdy footwear are key, and these tend to be the basics for most sites. Add chemical suits, face shields, or heat protection when the media is caustic, hot, or under high pressure. Be sure to keep a clean work area so that you can move without tripping or knocking parts into open pipework.
Before you start, it's always good to confirm the valve identification and service conditions. Then, check the tag, the flow direction, and the pressure and temperature rating on the nameplate. Match your procedure to the valve type so you do not use force where a special tool or a different method is needed. Any minute spent verifying details can save you plenty of hours fixing damage later.
Tools And Spares You Should Keep Ready
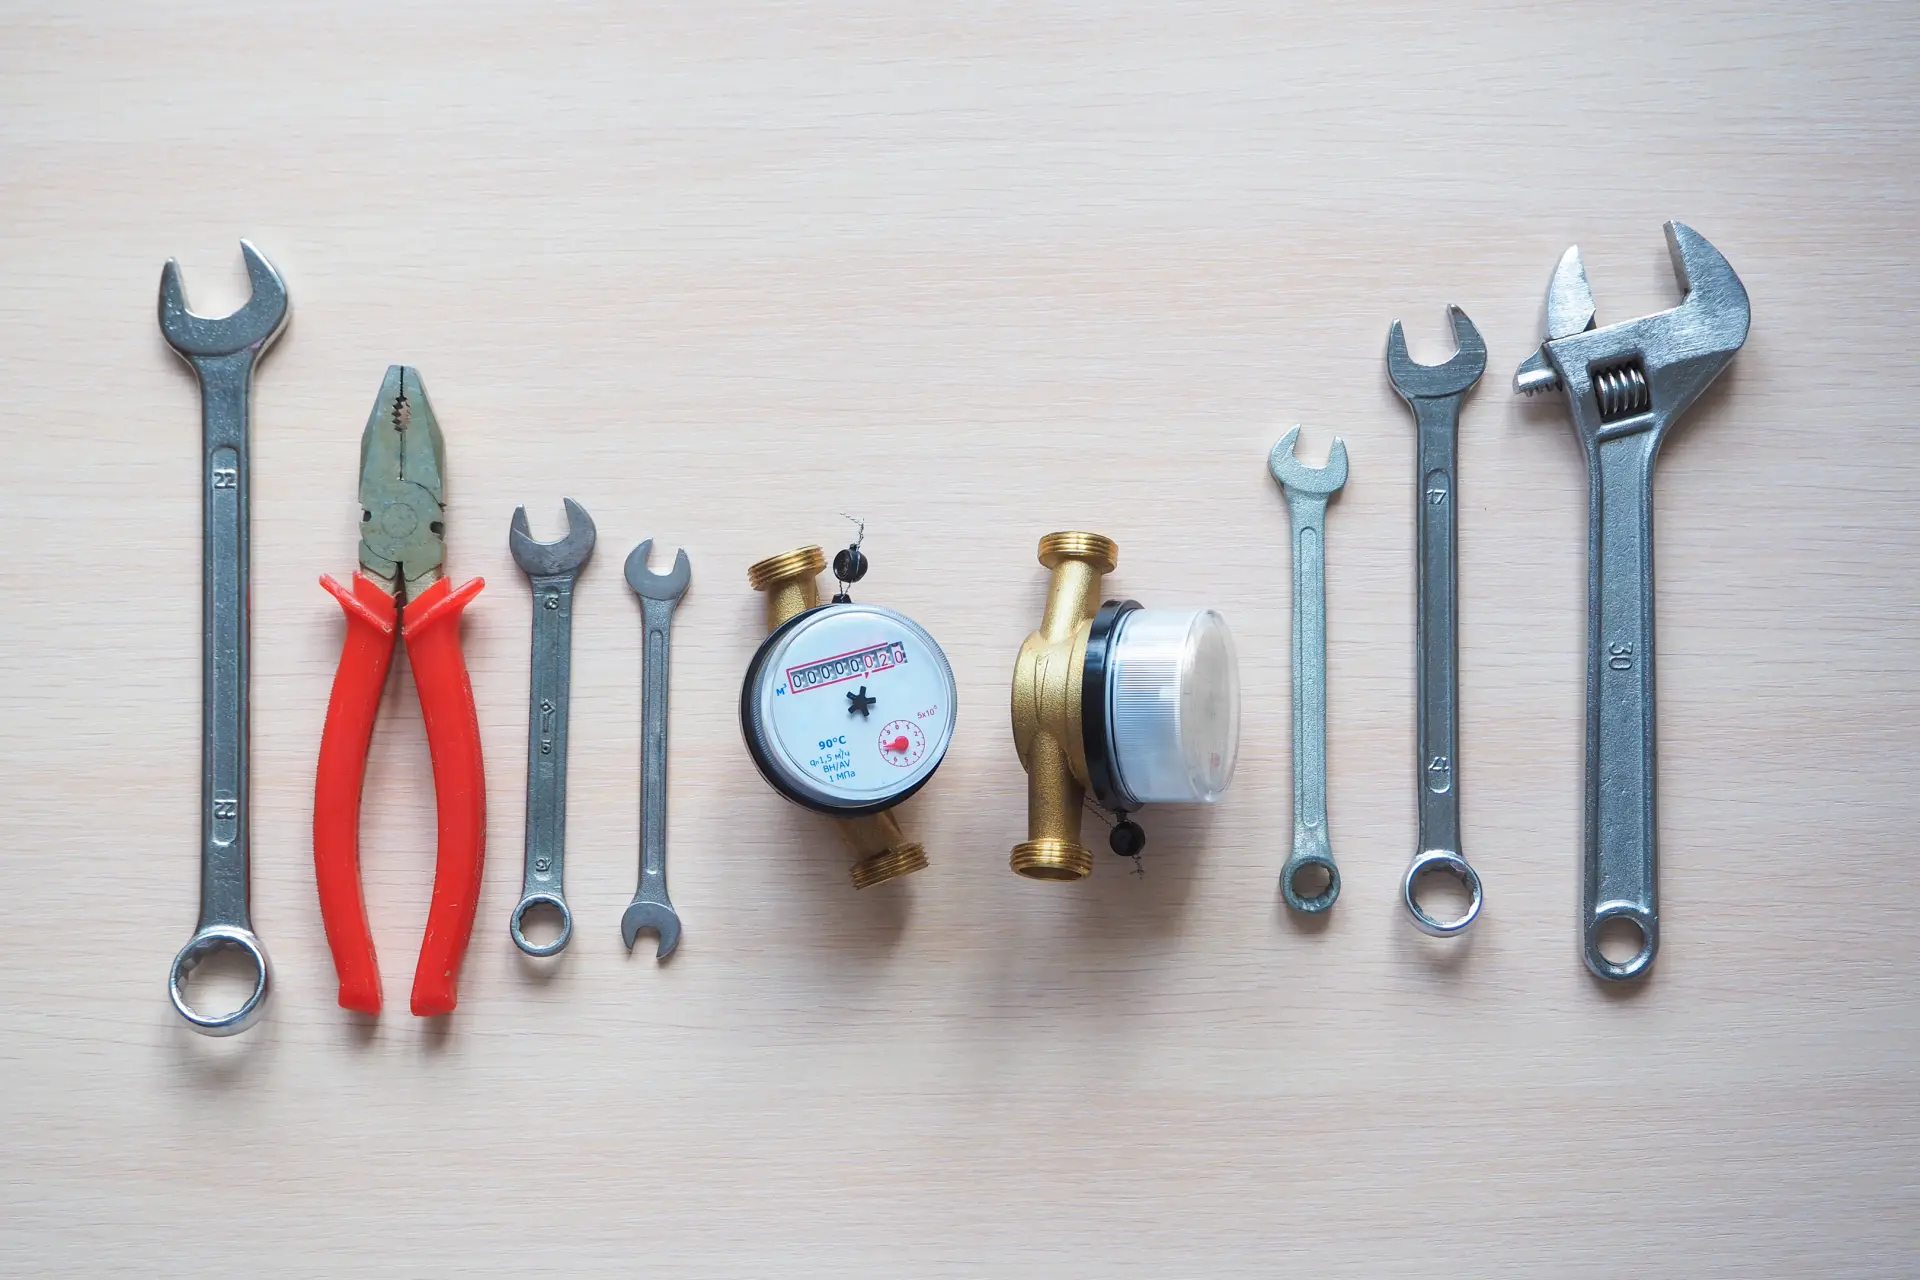
A good kit limits the risk of delays and prevents poor fixes. Keep calibrated torque wrenches with the right drive sizes, plus ring spanners and sockets that fit your common fasteners. Include feeler gauges, vernier callipers, and a small mirror and torch for tight spots. A clean bench mat and lint-free wipes help you keep all parts free of any grit.
Stock sealants and consumables suited to your media. We recommend carrying some thread tape or paste approved for gas, steam, or chemicals, just in case you need them. Add anti-seize compound for studs, and a light assembly grease for O-rings where the manufacturer allows it. Keep tagging cards and paint markers, and this will enable you to label your positions and torque values during major rebuilds.
Spare parts should cover routine wear items. Hold packing sets in the correct sizes, body gaskets for your standard valves, and common O-rings in materials that match the service. For control valves, make sure to keep soft seats, springs, and trim guides that tend to wear first, and store spares flat, dry, and in sealed bags with clear part numbers.
Do not forget the test and lifting aids. A hand pump or regulator and a calibrated gauge let you do quick seat or body checks when necessary. Slings, eye bolts, and lifting points protect the threads and prevent any bent stems when you move heavy bodies. A small cleaning kit with brass brushes and plastic scrapers helps you prepare sealing faces without scratching them.
Visual Checks, Leaks, Rust And Damage
Begin each inspection with a slow and careful examination. Scan for stains, white salt marks, or brown streaks that show a path of leakage. Look at the ground for residue or dry crystals under flanges and glands. Listen for hissing, and smell the air for odours that signal a small escape of media.Check fasteners and joints next. Uneven bolts sticking out suggest poor tightening, and missing washers can crush soft gaskets. Look for bent studs and damaged threads that will not hold torque. If a joint shows old sealant smeared around the edge, plan a proper strip and rebuild rather than adding more paste.Assess corrosion and paint condition. Blisters and rust under the coating mean moisture is trapped, and metal loss may have started. Pitting around nameplates, clamps, or labels can grow faster than open surfaces. Clean a small area of the bare metal and measure the thickness if you suspect a loss, then schedule repair before the strength is completely reduced.
Seat And Seal Condition
Seats and seals do the final sealing work, so treat them with care. Soft seats can deform or pick up cuts from grit, which leaves a path at risk of leakage. Metal seats can also suffer from erosion or tiny pits that stop tight shutoffs. When you open a valve for service, you must lay parts on a clean cloth and keep them in order for a much smoother rebuild.
Clean and inspect all the sealing faces with lots of good lighting. Use a magnifier to spot any lines, nicks, or embedded particles that shouldn't be there. Do not use steel tools on soft faces, and avoid the use of abrasive papers unless the maker allows it. A wipe with solvent and a lint-free cloth is often enough to show the true condition of the surface.
Choose replacement materials that match the duty. For hot or oxidising services, graphite or high grade PTFE can give stable sealing. For water or food lines, EPDM or approved elastomers may be best. If the process cycles often or carries fine solids, consider harder seat options that hold shape and resist wear.
The reassembly technique is just as important as the parts involved. Align the seat rings carefully, use the specified torque on their retainers, and stagger the packing joints so they do not line up. Lightly lubricate the O-rings if the manual permits it, and make sure to never twist them during an installation. After assembly, do a quick bench test with the right pressure where possible, and record the result for your maintenance history.
Lubrication Points And How Often To Grease
Lubrication helps stems, gears, and guides move with less friction. Check the manual closely for the correct lubricant type because some greases can attack elastomers or cause soft seats to swell. For rising stem valves, a thin film on the exposed stem prevents rust and lowers packing wear. For gear operators, the housing may need a specific grade of oil or grease to protect bearings and teeth.
Set a schedule based on duty and environment. Valves that cycle many times a day or sit in rain and dust need more frequent attention. As a simple guide, grease accessible stems every three months in harsh areas and every six to twelve months in clean, indoor areas. Gearboxes can follow the same pattern, with oil level checks in between.
Apply the right amount with clean tools. Wipe away the old grease and dirt from nipples and stems before adding any new lubricant. Pump the stem slowly until you begin to see a slight fresh bead at the seals, then stop. This way, you won't force any grease into the media path. Spin the handwheels or stroke actuators a few times to spread the lubricant and confirm smooth movement.
Watch for signs that suggest a change in interval. If a valve becomes stiff between services, it's best to shorten the gap and review the choice of lubricant. If the grease washes away in wet areas, install better shields or select a more water-resistant product.
If you need fabrication and engineering services nearby, contact Anderson Engineering And Welding Services today. We provide reliable, high-quality solutions across Manchester and the North West to meet all your fabrication and engineering requirements.